I mentioned here before that I will be graduating from college this April. A week ago today, I did. So now I'm officially unemployed!
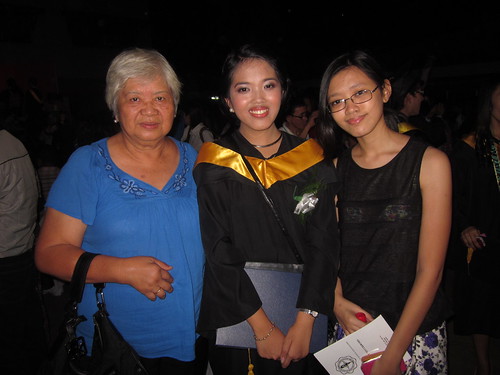
Me with my grandmother and sister
I'm just so glad to be done with that part of my life. But I would be lying if I said that I won't miss going to school, hanging out with my friends and even the professors who have inspired me so much these past years.
There were a lot of times when I just wanted to give up and shift majors but my friends would help me through it. It also helped that my professors were always encouraging us to do our best. There's this professor I have, Mr. A that always yells at us and sometimes swears at us to study harder. His way may not be the most pleasant or traditional but I know that he only wants us to be the best that we can be.
Another professor that influenced me so much is Ms. D. She's the polar opposite of Mr. A. Instead of the yelling and the cursing, she's soft-spoken. But I can see that she also wants her students to excel and be great accountants and even become a CPA. Her passion for teaching is almost tangible that I found myself studying hard no matter how dull and difficult the subject matter is. As cliche as this may sound, I know that my college life will not be the same without them.
A week into my unemployment, I'm already bored out of my mind. I'm trying to study some Accounting subjects that I suck at in preparation for the board exams. Because I will be taking the CPA board exams this October! This thought never fails to make me nervous. It will be the biggest thing I will do so far. Starting this May I will be staying at a boarding house in Manila since commuting everyday for four hours would kill me for sure. Another thought that fills me with dread. I have never experienced living somewhere that's not the house of a relative. I'm not even sure if I'll have someone I know living with me there. Please wish luck for this awkward and sheltered girl. Maybe I can gain new friends by bringing baked goods? That works, right?
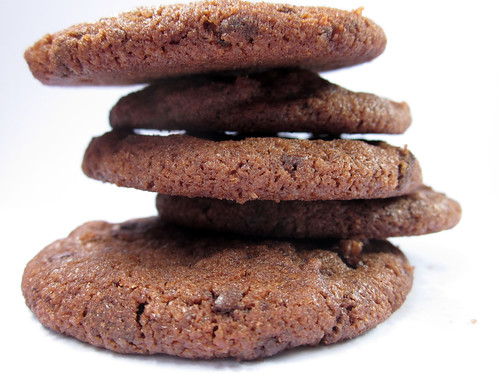
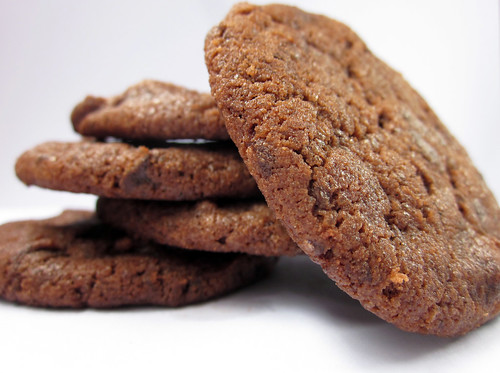
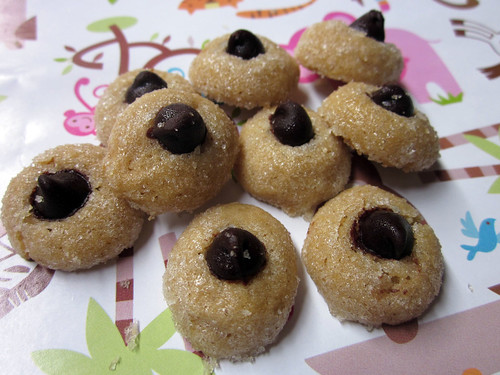
I got the idea for these cookies from 17&Baking but we're not big fans of peanut butter so I used Pioneer Woman's Spreads recipe since it also doesn't spread.
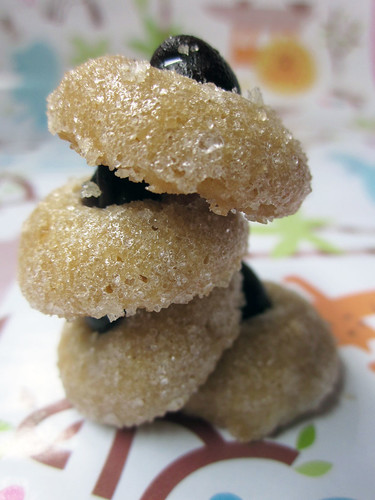
Tiny Chocolate Chip Cookie Buttons
Adapted from The Pioneer Woman and 17&Baking
1 cup margarine
1 egg
2 cups flour
1/2 teaspoon salt
1 teaspoon vanilla
Granulated sugar, for rolling
Chocolate chips
Mix together brown sugar and margarine. Add egg and mix together. Add flour, salt, and vanilla, and mix together well.
Chill for an hour. After chilling, preheat oven to 350 degrees.
Using a 1/2 tsp, roll dough into balls. Roll in granulated sugar and place on ungreased baking sheets. Bake 7-9 minutes (8 is best for me) and remove from oven. Immediately press a chocolate chip into the center of each cookie. Let cookies cool a minute, then transfer to a wire rack to cool completely. [Note: the chocolate chip will be warm and gooey for some time, so be careful before stacking them.]